Sunday, May 26, 2013

OOTDs from loooong ago

Here is a collection of some of my rather ancient outfits. They are some of my faves though :)

This ensemble was put together for a day out in Dubai with Christine Castillo. I'm wearing a black chiffon blouse with a white heart print, tucked into a pair of blue shorts, along with my blue suede boots.

Below is a shot of what I wore for one of the Honor's Convocations at uni. I belted in the white dress to give it more of an A-line shape and added the black bolero and a pair of dainty black wedges.

This was the outfit I selected for my first day out in Paris. I had to include a pair of leggings and the cardigan to protect against the unexpected rain and wind. I bought the flower print jumpsuit at Forever 21.

The attire I chose for our trip to Versailles was a pair of culottes, with a tucked-in horizontal striped tee and my cardigan (once again for the cold). Both the top and bottom are from Forever 21 (clearly, one of my favorite shops!!).

That's all for now.

Happy styling!

Wednesday, May 22, 2013

The Flower Shop Mysteries

Bloomers is a charming little flower store that can be found in the small town of New Chapel, Indiana. With two bay windows flanking the yellow framed door, it also houses a dainty coffee shop. This establishment is frequented by college students and law enforcement officials from the courthouse in the town square. Its owner, Abigail Knight, is a lively, energetic persona and she is assisted by the lovely Grace and Lottie.

Oh, and did I mention that Bloomers is fictional? So are Abby and her assistants. Where do they exist, you may ask. In the pages of Kate Collins' Flower Shop Mystery books. Of the thirteen books in the series, I have read six and they have left me utterly captivated. The protagonist, Abby Knight, isn't your usual perfect heroine. She's got her own share of flaws that make her more relatable to readers. She has a tendency to get herself involved in sticky situations that take her on roller-coaster adventures!

She is an amateur 'detective' who likes to poke her nose into other people's business (invited or not) that most likely puts her smack-bang in the middle of a mystery. Yet, there is a certain quirkiness to her character that I find irresistible (and at times, slightly annoying). She is stubborn but gets the job done, so there's always a happy ending :)

A recurring character that adds spice to the story is Marco Salvare, former Army Ranger (he provides the romance factor). A bunch of other eccentric personalities, such as her mother and cousin, make appearances that provide for comic relief. The plot may not always seem realistic and sometimes, makes you wonder how so much of drama can take place in a small town, but it allows you to let your own imagination run wild. Kate Collins takes the reader along for the ride; I tried my hand at playing detective and made attempts to solve the mysteries as I read the books. This series is for those who want light reading with a bit of a thrill.

These are the titles I've read in the series (aren't the covers themselves so adorable?). I would love to read all the other books in the series, so that I can get my dose of comedic adventure!


Sunday, May 19, 2013

Nails galore

I am one of those girls who LOVES doing her nails AND experimenting with colors and designs. Strangely, I never used to be like this when I was younger; you could say that I almost feared nail polish!!! Then, when I was in my teens, I got into glitter nail polish, but still shunned colored varnish. It was only after I came to the UAE that I became bolder and boy am I glad I did! I haven't really documented my nail escapades very properly, but here are the few pictures I managed to dig up.

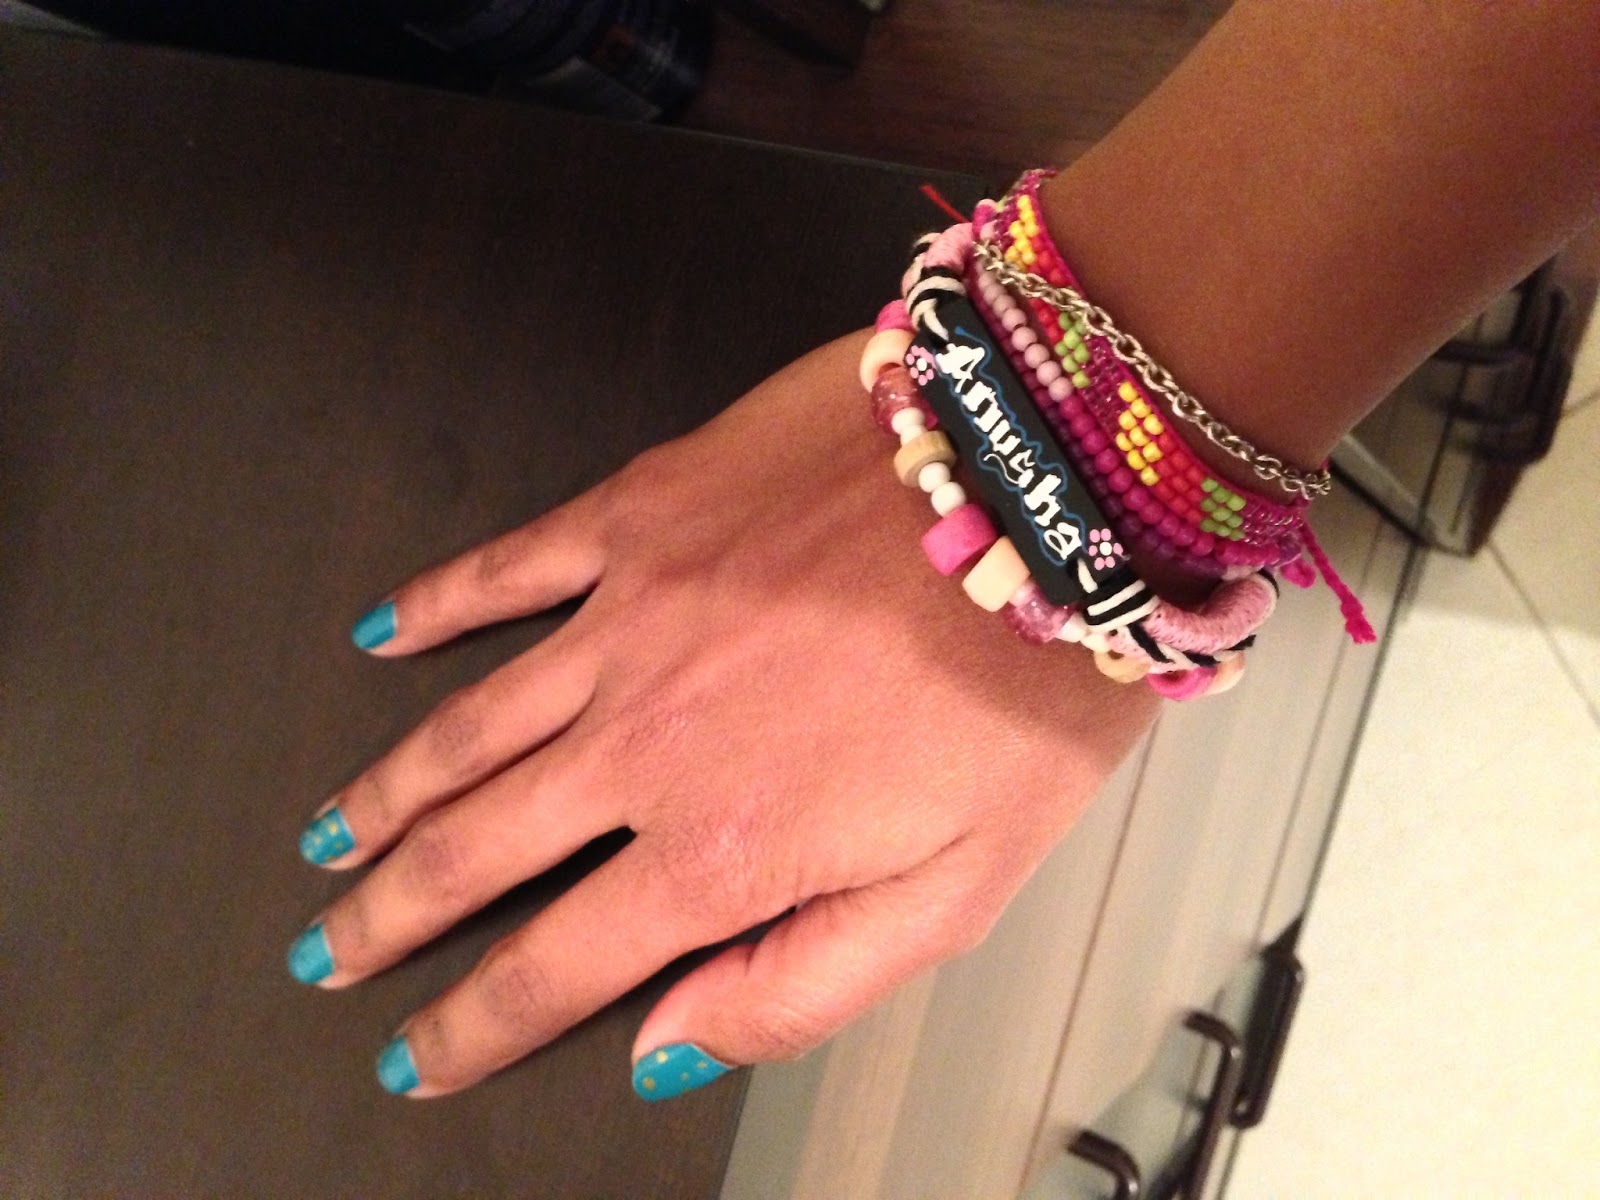
I just love the vividness of this turquoise green ("Fly" by OPI). I know it's difficult to see, but I added some gold polka dots on the ring finger and thumb.

The color is "Thanks a windmillion" by OPI.

This vintage floral pattern by Bubzbeauty had me jumping with joy. And it's NOT difficult to do. The only tool I used was a toothpick!

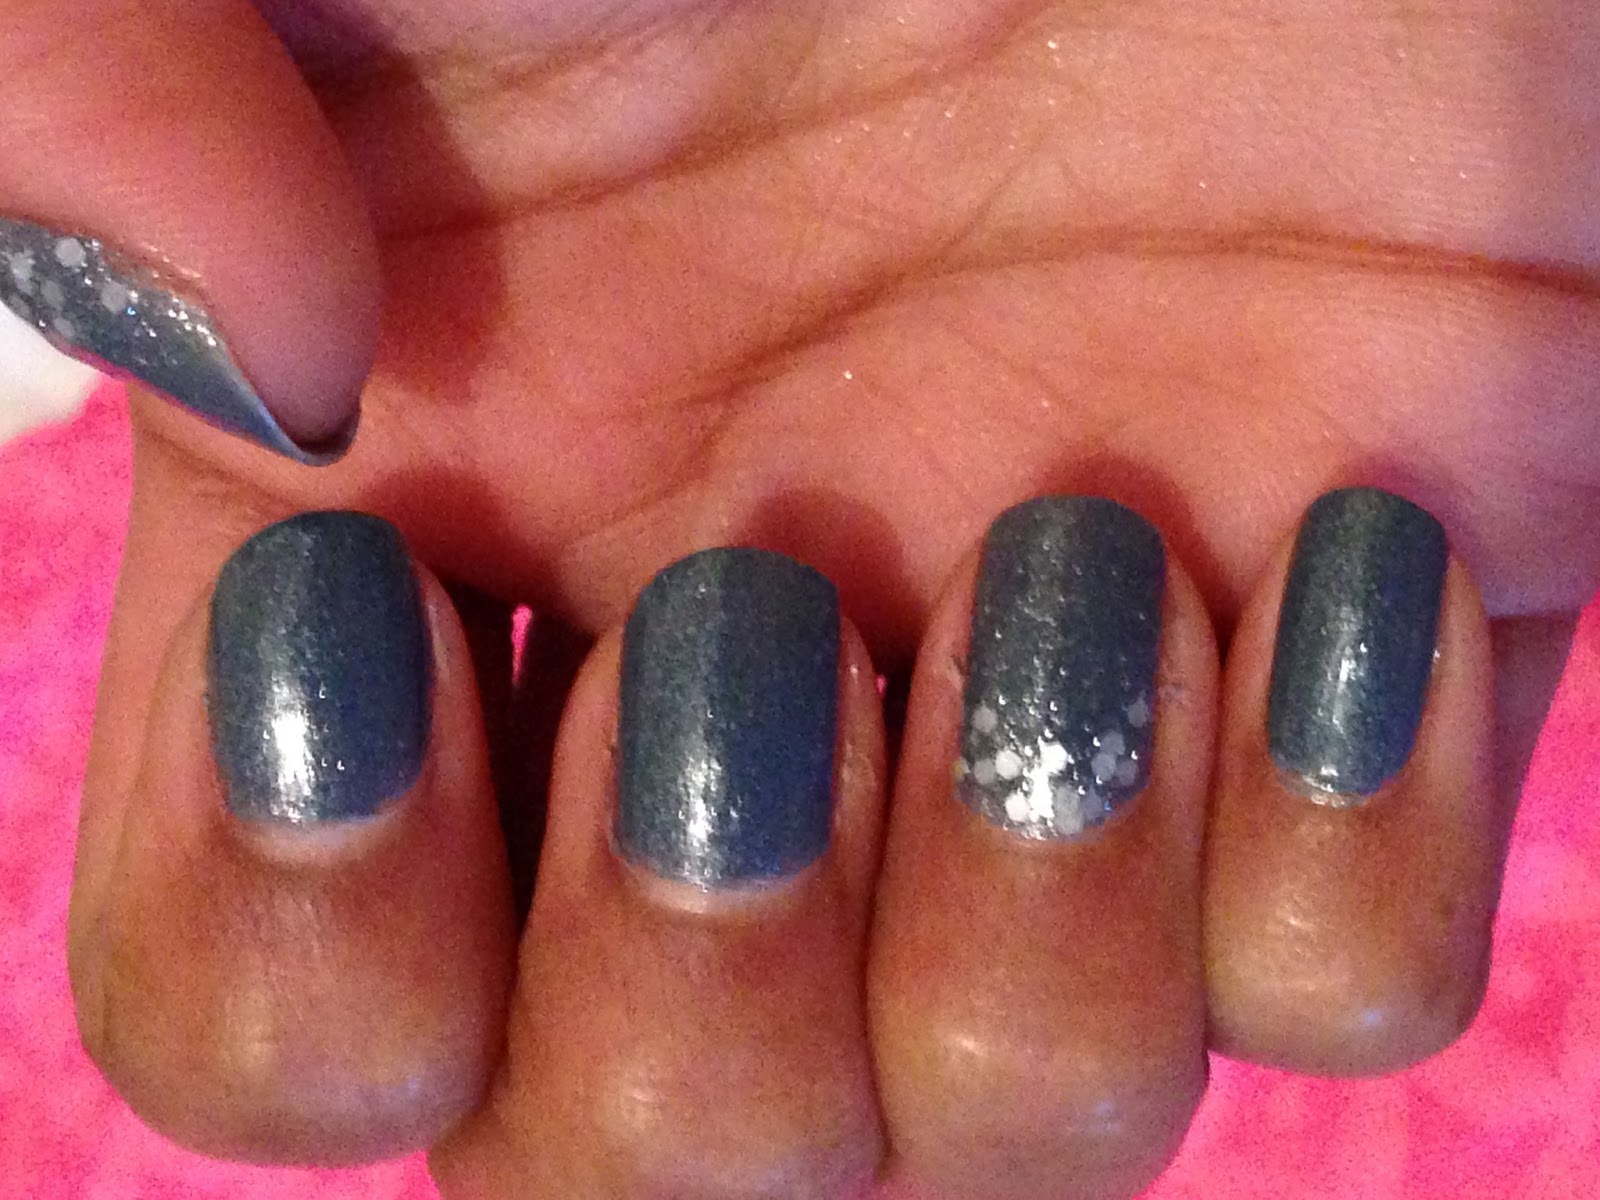
Here, I've used "I have a herring problem"  by OPI and added some glitter to the base of my ring finger and thumb.

 More polka dots!!!

My most recent manicure is a light pastel shade by the name of "Planks a lot" by OPI. I added some cute kitty cat nail stickers.

Happy styling!

P.S. I'd love to meet the person who names the colors by OPI :P

Thursday, May 16, 2013

DIY Home decor

It's quite possible to turn almost anything into a DIY project, home decor included, so I decided to dabble in it a bit and came up with quite a few creations. You don't need a lot of costly materials - just some items from the dollar store, super glue and spray paint, and you're good to go!

My first project is a re-purposed picture frame which I spray painted in white. I simply added some backing paper, ribbon and sequins to the background of the frame and turned it into a vanity tray that now sits on my dressing table. It's quite nifty for organizing the accessories/ make-up that I plan on wearing the next day.

While I love the color of my phone cover, I thought it needed more personality. This came in the form of some lace and a few rhinestones scattered here and there. This way, it's unique and all glammed up without the need for spending too much :)

I just loved my Body Shop strawberry body butter so much, that I didn't have the heart to throw the container away when it was finished. Hence, I spruced it up a bit and made it a container for my bobby pins. And there's no arguing that it's eco-friendly ;)

I picked this innovative idea off YouTube. It's a canvas frame to which I glued some material with holes in it (no idea what it's called :S). Any clue what it is? It's an earring holder. Genius right?? Plus, it's a great gift idea.

This is yet another project straight from the video realm of YouTube. It's supposed to be a jewelry stand, but it can be simply used as a free-standing ornament. All I had to do was super glue two plates together with a candle stand in between and add some paper roses to the base. I adore the way the red stands out against the pastel colors of the plates.


Here's yet another stand (this time, with three tiers). I added a dessert cup to the top. All the items were white which was quite blah, so I spray painted them in this gorgeous mint green. The black ribbon and white and lavender paper roses contrast yet complement the green (it took me AGES to make the roses, but in the end, it was worth it).

This was originally a boring jewelry box which I recycled to make look like foiled metal. I topped it off with the leaves, which were a pair of earrings that I never wore, and a paper rose.

Aren't these erasers the cutest? Though their functionality is rather questionable :P However, their versatility came in handy and I converted them into embellishments for my empty jar. It currently has no use, so it's just sitting there looking pretty on my study table. Any suggestions as to what I could fill it up with?

I recycled another body butter tub and added fruity erasers to the lid to cutify it :)  Okay, so the eggplant isn't a fruit, but whatever, it lends color to the whole arrangement :P


I hope to start more projects like these very soon :)

Happy DIYing!

Wednesday, May 15, 2013

Avocado chocolate mousse

For some reason, my cravings for sweets have increased recently, but I also don't want to gorge on sugary treats. This has led to my extensive search for healthier alternatives. Since I had a ripe avocado sitting in my fruit basket, I decided to put it to good use and make a mousse out of it.

Avocados contain healthy fats and have fiber which can keep you feeling full for quite some time. They also aid in the absorption of nutrients and help to maintain steadier blood sugar levels.


Now, onto the recipe which is as simple as ABC! Peel and mash the avocado, add some cocoa powder, vanilla essence and a sweetener (Stevia, honey, date syrup etc.) and voila, you have creamy chocolatey goodness!! I layered some crumbled sugar-free shortbread cookies between the mousse to add some texture, and my sweet tooth was satisfied. The mousse with vanilla ice cream is another divine combo!!

Happy cooking!

Strawberry Banana Oatmeal cookies

Keeping up with my healthy eating trend, I decided to make some healthy cookies with strawberries, bananas and oatmeal (yes, those are the only ingredients you'll need!).

Bananas are a good source of potassium and promote bone health. They can also help to maintain good eyesight and to overcome constipation. Another advantage of this fruit is that it provides energy. Some of the benefits of oatmeal are low calories, low fat, and high fiber and protein content in addition to the stabilization of blood sugar. Oatmeal also contains unique antioxidants that contribute to cardiovascular health.

This dish is very simple and quick to make. All you have to do is mash the bananas, add the oats, strawberries and a bit of vanilla essence and bake for 15 minutes in an oven heated to 180 degrees Celsius.
The ingredients are all prepped. Turns out that I didn't need the Stevia after all!!

The cookie mixture turned a lovely red because of the strawberries (hmmm, it kinda looks a fat heart :P).

Cookie dough's served up and ready to be baked. I just love the non-stick baking mat - easy clean up!!

And here's the finished product :)

Some optional add-ins include chocolate chips, cocoa powder or almonds. The cookies turned out to be soft and chewy. Note that there is no added sugar :)

Happy cooking!

Tuesday, May 14, 2013

DIY solution

I finally got a new Bible after a long, long time. It was a bitter sweet moment indeed; I had to let go of my old one, but it was exciting to choose a more mature Bible now that I'm all grown up ;)

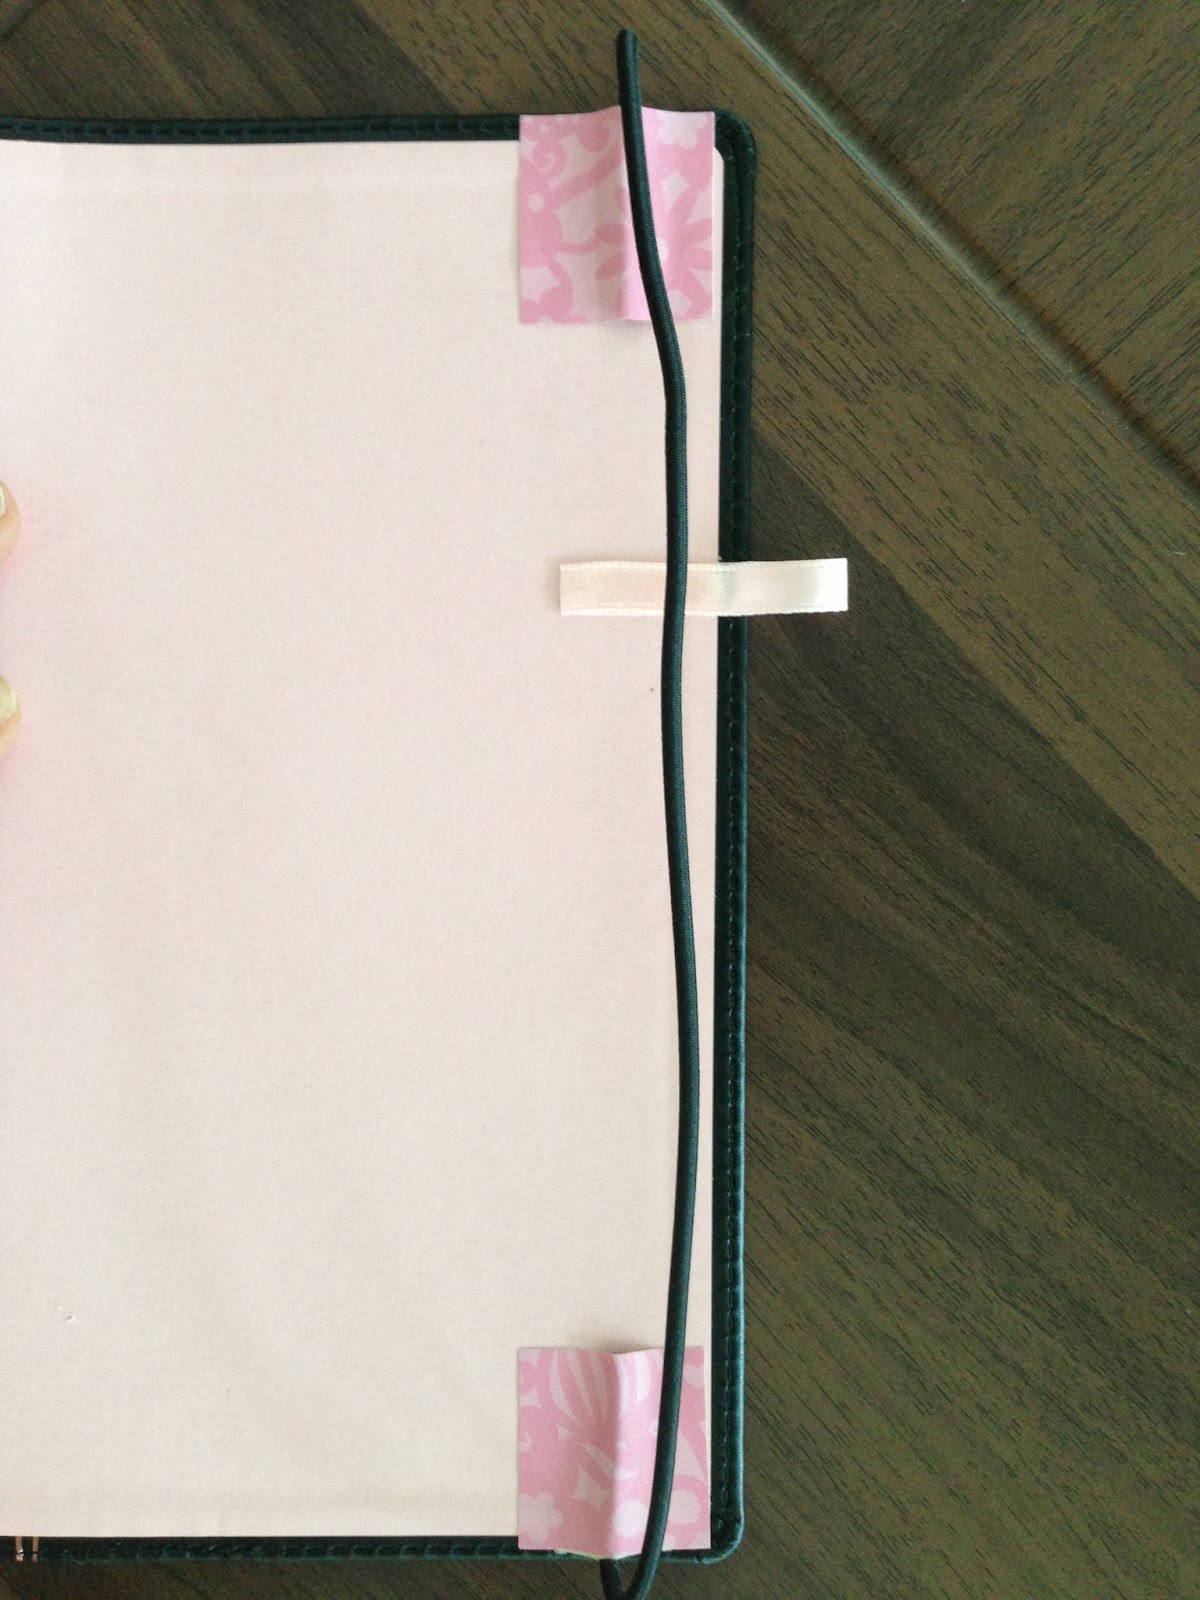
I love the sleek, feminine look and it's super light and easy to carry. The soft, leather cover just adds to it's appeal. However, I faced a small problem - I couldn't find a cover to fit it but I need one to hold my notebook and pen. And then, the light bulb over my head lit up! I thought I would add an elastic to hold the cover down (so I could store my notebook under the front cover) and attach a ribbon for the pen on the back cover. Voila! Problem solved :)
I covered up the ugly ends of the elastic with some patterned backing paper.

Happy DIYing!